How to Plan a DIY Project on a Budget
By Mac · 6 min read
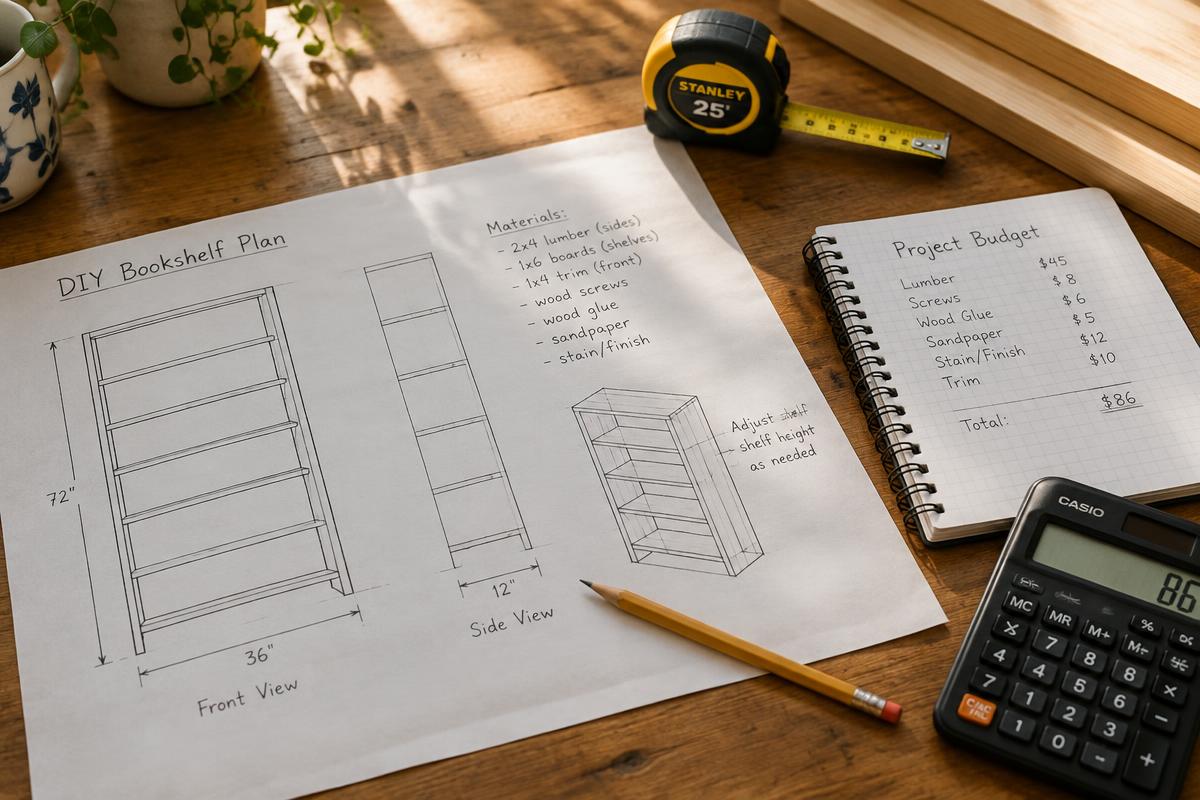
The difference between a project that feels fun and one that drags on for months usually comes down to planning. A little time spent upfront helps you avoid extra trips to the store, wasted materials, and the dreaded half-finished project sitting in the garage. Here's a straightforward process you can use for anything from a new shelf to a refreshed bathroom.
Step 1: Define the Goal
Write down exactly what you want to accomplish in one or two sentences. "Add storage to the entryway" is a good start; "build a 36-inch wide bench with cubbies for shoes" is even better. A clear goal keeps the project from growing in scope, which is one of the most common reasons budgets get stretched.
Step 2: Measure and Sketch
Measure the space carefully and draw a simple sketch with dimensions. It doesn't need to be pretty. Note outlets, vents, baseboards, and anything else that might get in the way. A sketch makes it far easier to calculate materials and spot problems before you've spent a dime.
Step 3: Build a Materials List
List every item you'll need: lumber, fasteners, glue, sandpaper, finish, and any hardware. Then check what you already own. Many people are surprised by how much leftover paint, screws, or wood is already sitting in a closet. Add a line for small consumables like painter's tape and drop cloths, since they add up.
Step 4: Price It Out and Add a Buffer
Look up prices online or in store and total your list. Then add a buffer of around 10 to 20 percent for mistakes, extra pieces, and things you forgot. If the total is higher than you'd like, look at alternatives: a different wood species, a simpler finish, or a smaller design.
- Compare prices across a couple of stores.
- Check the cut-offs or discount bin for small pieces of lumber.
- Rent or borrow specialty tools you'll only use once.
- Buy fasteners in the size you need rather than large variety packs.
Step 5: Make a Simple Timeline
Break the project into steps and estimate how long each will take. Remember to account for drying time for glue, paint, and stain. Spreading a project across two weekends is often less stressful than trying to rush it into one, and it gives you time to fix small issues before they become big ones.
Step 6: Follow a Proven Plan
One of the best ways to save money is to work from detailed plans with accurate cut lists. Good plans reduce waste, show you the right order of steps, and help you avoid trial-and-error purchases. Even experienced DIYers rely on them for new types of builds.
Wrapping Up
Planning doesn't take the fun out of DIY; it protects it. With a clear goal, a sketch, a priced materials list, and a realistic timeline, you'll spend less, waste less, and enjoy the process more. Pick a small project, try this process once, and you'll likely use it for everything that follows.